Constant Light

Westcott Wednesday: Unlocking the Potential of Constant Lighting

So here’s a date for the diary …

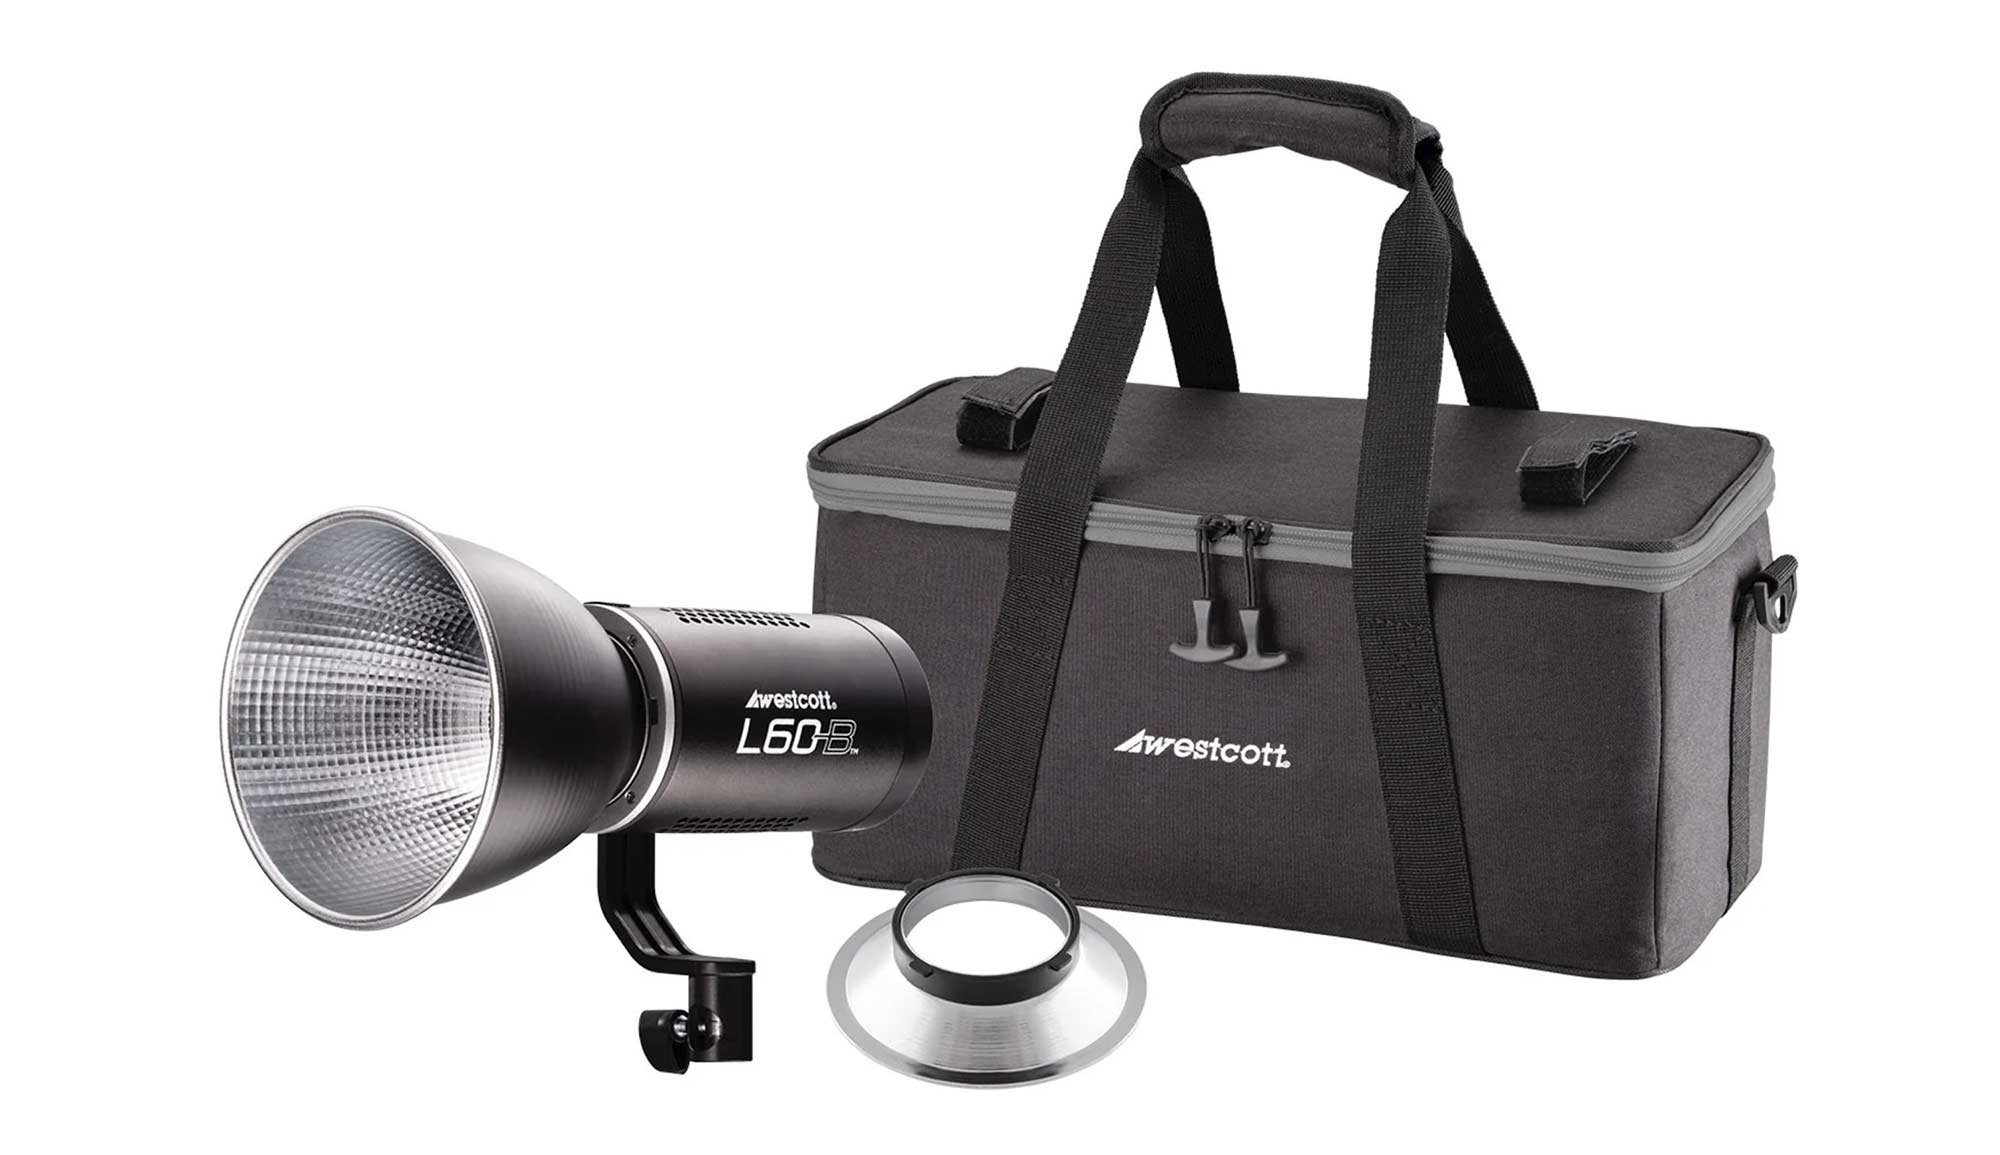
In conjunction with Westcott and B&H Photo and Video, on the 15th May @ 3pm EDT (8pm UK) I'll be on "Westcott Wednesday" going through the WHY, WHAT and HOW of using Constant Lighting when taking portraits.

Thid will be the latest installment of the regular Westcott Wednesday series hosted by B&H in which I’ll be, as the description says …

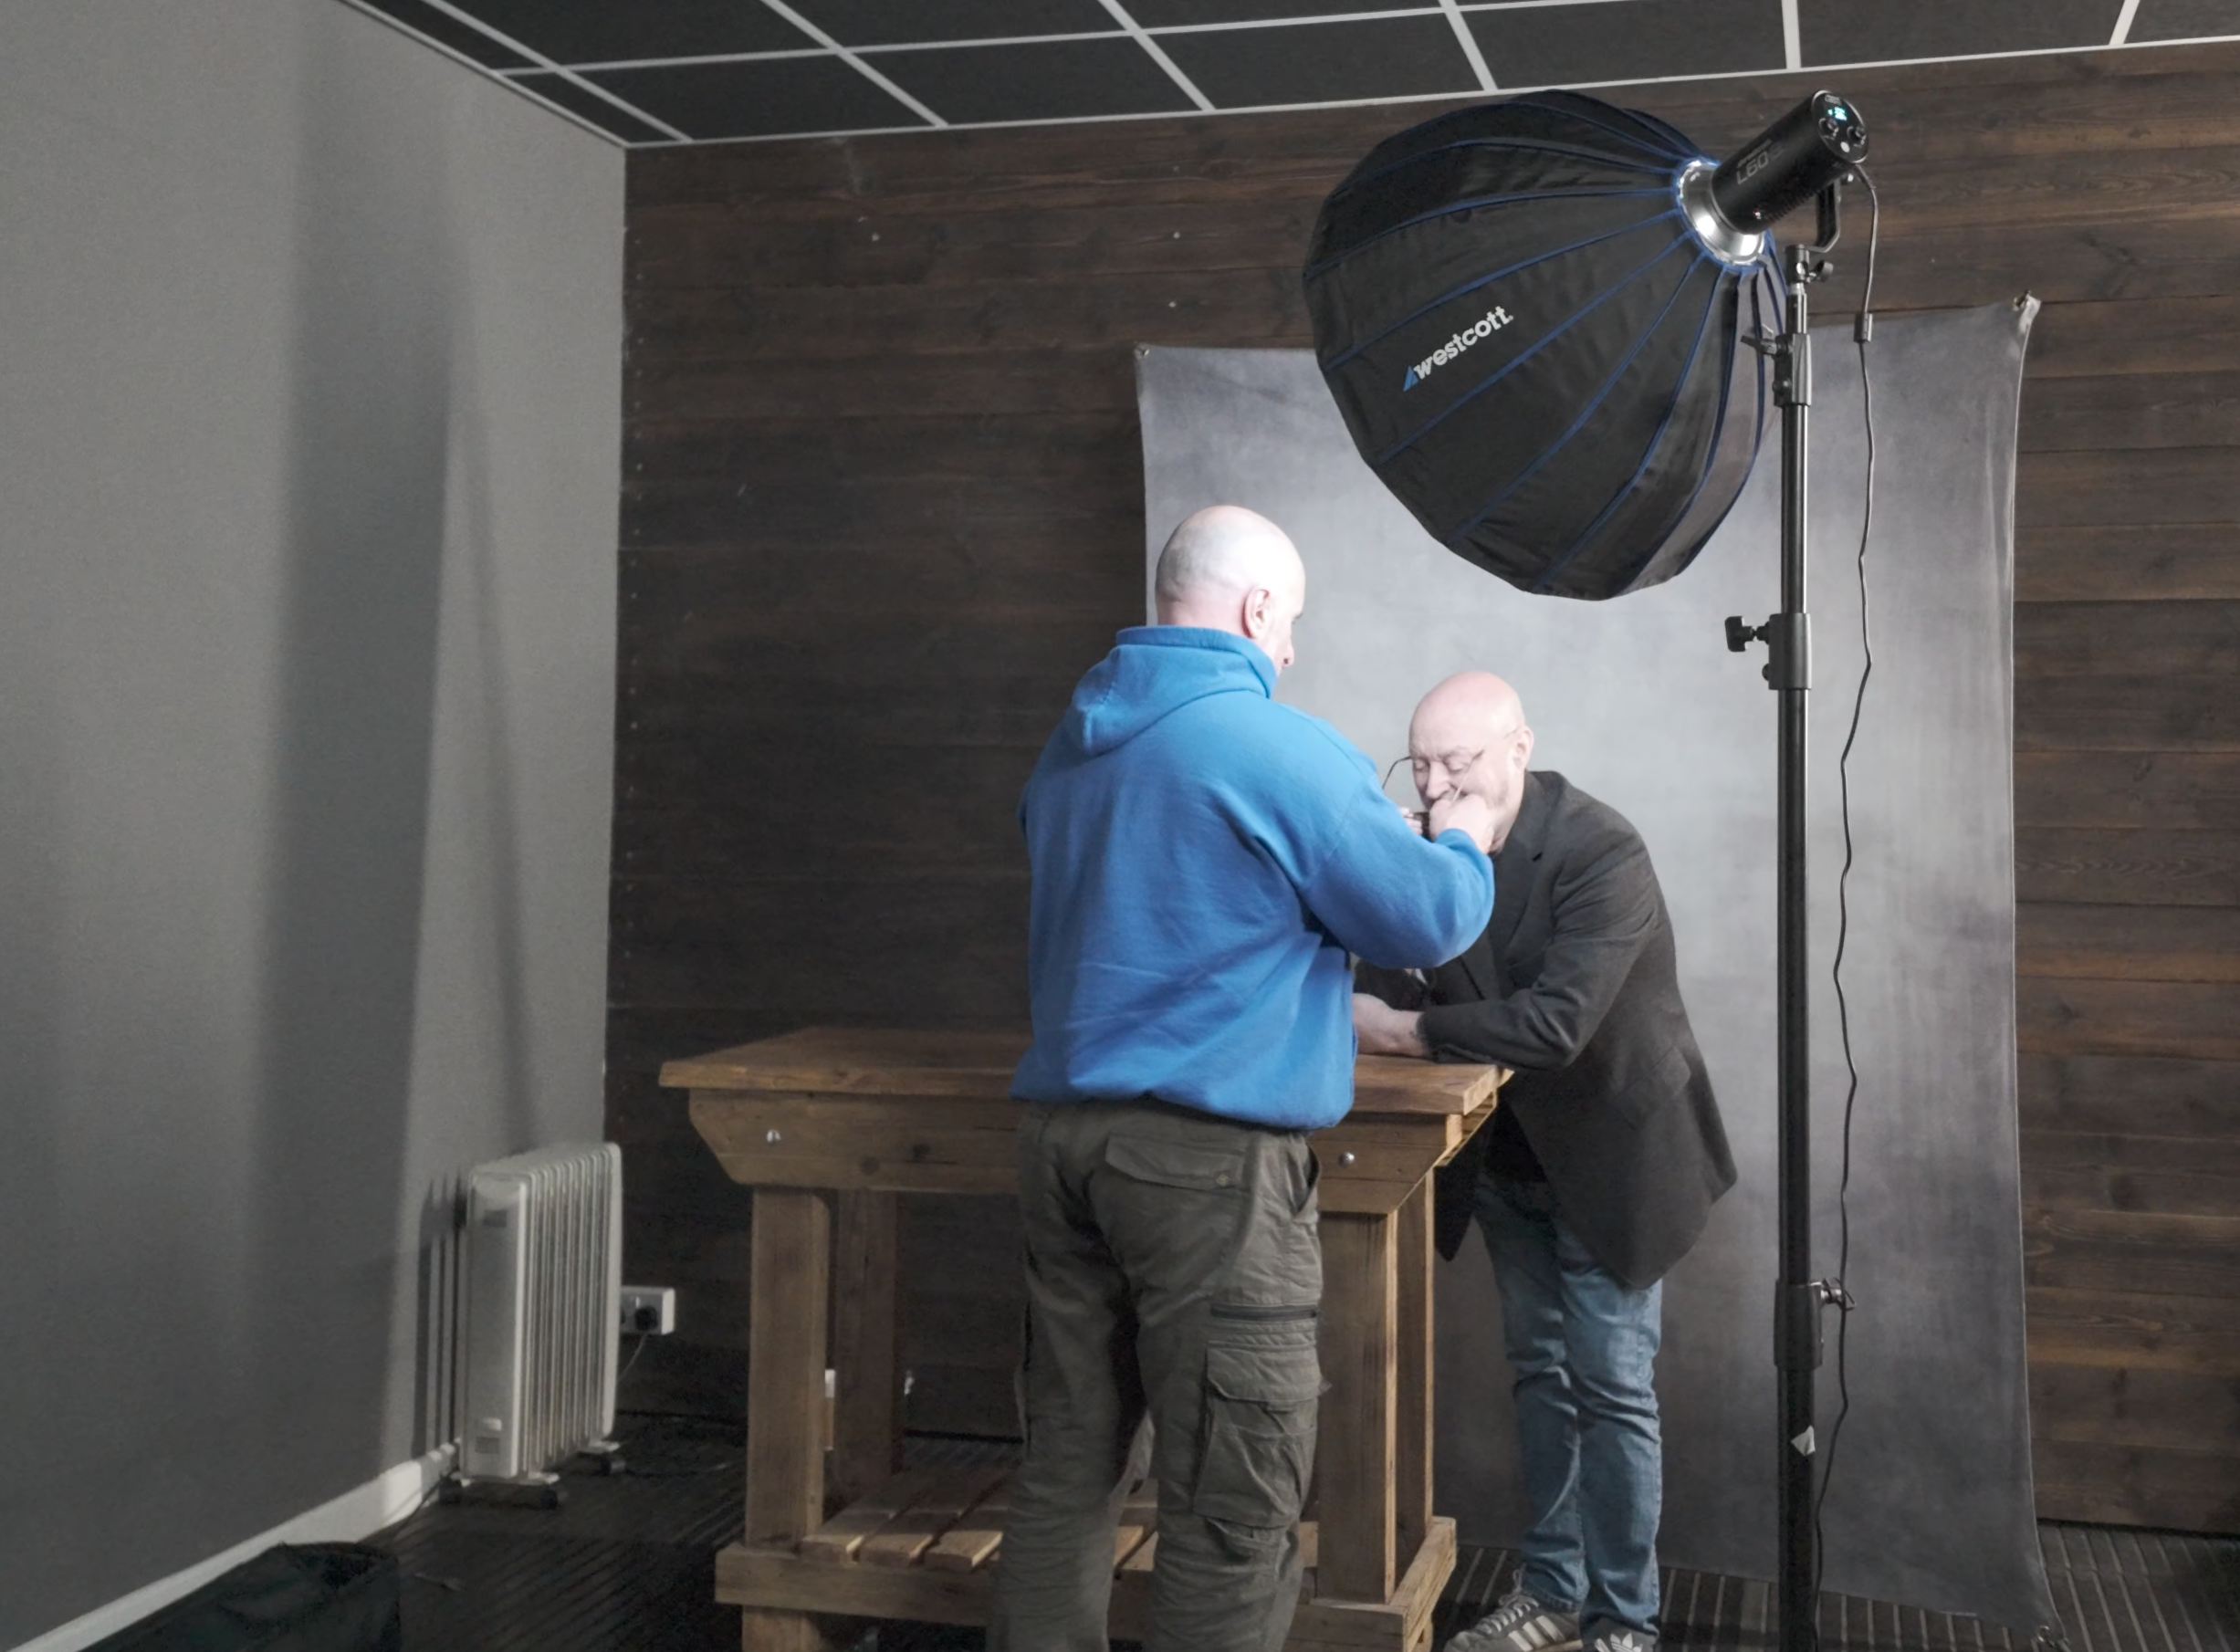
Join us for this presentation as Photographer Glyn Dewis takes us through a journey shifting from traditional flash to constant lighting in portraiture. With a mix of image examples and behind the scenes, Glyn will explain how constant lighting has become the cornerstone of his portrait work, injecting a newfound level of creativity and enthusiasm into his photography.

“At first, using constant light almost felt like cheating but I’ve since completely changed my mind because aside from being under no illusion of the results I get and the ease of setting up, more than anything it enables me to concentrate even more on the person in front of my camera and the concept we’re working on.”

Oh and this event is FREE , will last about 1 hour and will be over on the B&H Event Page on YouTube ( LINK )

Classic Portraits with Constant Light

Recently I was back with friends in the studio taking portraits, and this time getting Steve in front of my camera to try out some ideas I’d stumbled across when browsing Pinterest that I thought would be another good excuse to get my L60-B constant light out for.

Pinterest

I’ve used Pinterest for years as a great place for not only finding inspiration by looking at the work of photographers I admire like Annie Leibovitz and Mark Seliger, but also a great tool for looking how other photographers pose their subjects, which lets face it can be awkward at times. 

Finding a balance between what you want but also making the pose look natural and the subject comfortable can be challenging to get right but I’ve always found it a massive help when you can guide your subject on what you’re looking for by showing them a picture.

Anyway, these here are some of the looks and poses I was really interested in …

Model for the Day

Model for the day was my dear friend Steve Healy whom I’ve known for years. 

There was a time when for quite a while we’d not met up because of Steve moving away to Devon but I’m glad to say that when we finally made the move to the South West , we’re now able to meet up fairly regularly to just hangout out and take photographs. This we will certainly be doing more and more of!

Anywa, Steve drove over to my house in the morning and then we both jumped into my car and headed to South Wales to catch up with the gang; some of my closest friends which to be honest are more like family … Ian Munro and Anthony Crothers.

This was the first time Steve had met up in person with Ian and Anthony even though I’m sure they felt like they knew each other anyway having messaged back and forth many times on social media and also in the chat room during my Sunday LIVE Broadcasts on YouTube. Needless to say … Steve instantly became ‘one of the gang’ 😃

So after a traditional meet up at Costa in Brynmawr, South Wales to fuel up on coffee, we then went to the studio and cracked on …

PORTRAIT 1

So the first portrait I really liked the look of doing was the one inspired by this portrait of Robert De Niro taken by Mark Seliger …

Steve had brought along a dark grey casual suit-type jacket which was ideal. He’d also bought a white shirt to wear underneath but when setting up we all felt that even though you’d only seen a small portion of it, it would be too distracting, so instead Steve kept with the black T-Shirt he was wearing.

BACKGROUND

For this I portrait as it was to be a fairly tight crop of Steve on one side and just a little bit of ‘dead space’ to the left, the 7’ x 5’ background would be plenty big enough and so this was set up with the rear supporting leg shortened so that the background took up less floor space and could be closer to the wall.


LIGHT + MODIFIER

I’ve said it before and I’ll say it again … I absolutely LOVE this light!

I wouldn’t be exaggerating when I say that positioning the light (L60-B) to get the Rembrandt Lighting Pattern 100% BANG ON took just a few seconds; such is the convenience and ease of doing so when using because … What You See Is What You Get

Bottom Left: iPad Pro with Pinterest App open showin the ‘reference’ image

To achieve a quality of light that was neither hard or soft but somewhere in between, and also to minimise the amount of light that would spill onto the background, I opted to use the Westcott 24” Rapid Box Switch Beauty Dish and with the outer diffusion panel fitted.

Westcott 24” Rapid Box Switch Beauty Dish with Outer Diffusion Panel

CAMERA + Lens

  • Sony A7RIV

  • Sony 85mm f/4.0 G Master

CAMERA SETTINGS

  • Aperture: F/4.0

  • Shutter Speed: 1/60sec

  • ISO 1250

Once set up and with any light in the studio that wasn’t contributing to the portrait turned off, I could then start taking portraits of Steve but what was really useful here was that everyone could see EXACTLY what the shots would be like without having to look at the back of my camera each time or look at my iPad Pro that I was tethering to; again because What You See Is What You Get

Studio lights and ‘any’ lights not contributing to the portrait turned off.

This made it so easy for anyone who wanted to make a suggestion and move in to maybe get Steve to angle himself differently or change the position of a hand.

It just worked and worked so incredibly well, making EVERYONE feel involved.

OUT OF CAMERA

Here’s the out of camera Raw file …

Original Raw file in Adobe Lightroom Classic

FINAL EDIT

Here’s the final retouched image which was worked on using both Lightroom and Photoshop …

Final Retocuhed Portrait

LIGHTROOM CLASSIC and PHOTOSHOP

Here’s a summary of the retouching steps carried out in both Lightroom Classic and Photoshop …

Lightroom

  • Straighten & Crop

  • Colour Correction*

  • Denoise

  • Masking (Enhance eyes - Iris and Pupil only)

*Had to do this manually as ‘somehow’ I forgot to use my Colour Checker Passport … Doh!

Photoshop

  • Clean Up

  • Dodge & Burn

  • 2010

  • Dreamy Glow (20%)

Lightroom

  • Colour (CN16)

  • Color Mixer (Reduce Orange & Red Saturation on Steve’s face)

  • Masking (Radial Gradient to Shape Light)

  • Masking Exposure on Face

  • Add Grain


PORTRAIT 2

For the 2nd portrait of Steve, this was the photograph I used as the initial inspiration / idea …

For this we went with the exact same set up albeit positioning the light camera left this time as opposed to camera right as it was for the first portrait.

Below is what the set up looked like before turning off the lights in the studio that weren’t contributing to the portrait …

Using the single L60-B coming in from high up and angled down produced exactly the lighting that was wanted (below) however I felt that the shadow side of Steve’s head was a touch too dark …

To add a touch more light onto the shadow side of Steve’s head, rather than use a 2nd L60-B we just used a Silver Reflector which also had a white side to it, however between the two surfaces, the silver side gave the best result …


OUT OF CAMERA

Here’s the ‘out of camera’ Raw file …

Out of Camera Raw file in Lightroom Classic

FINAL EDIT

Here’s the final retouched image which was worked on using both Lightroom Classic and Photoshop …

Final Retouched Portrait

lightroom classic and photoshop

Retouching steps in both Lightroom Classic and Photoshop were pretty much the same as in the first portrait, however there was one very definite difference.

When taking the 2nd portrait, we all felt that although Steve sitting on a stool worked, it did make him look a little squashed because of the height of the stool he was sitting on and also how his jacket sat, so we also tried a few shots with Steve standing …

With Steve standing it definitely stopped him looked squashed, however when looking at the images later in Lightroom Classic I was torn because I liked the pose and expression on Steve’s face from the seated shots.

So now in the retouching I was thinking I could either (a) do a head swap or (b) do the opposite of a technique I used to do when photographing physiques … and that’s what I chose to do.

PHOTOSHOP TUTORIAL

Here’s a short video showing exactly what I did in Photoshop to reduce / remove the ‘squashed’ look …

WRAP UP

Following the photo shoot we all the headed over to Abergavenny for what was a delicious bite to eat at The Angel … THANK YOU Steve!

So there you go, all of the steps that I went through from the initial idea, the kit, the set up and the final edit.

As always if you have any questions / comments, please do make use of the section below and I’ll be sure to reply.

Oh and don’t forget, if you’re interested in getting ANY of the Westcott kit including lighting, modifers, backgrounds etc then drop me a line as I’ll be able to give you a Discount Code for 10% OFF

Cheers
Glyn

Cinematic Portrait using Constant LED Light

Last weekend I was back with friends Ian Munro and Anthony Crothers in South Wales filming more content for the update to my TIMELESS Photography and Retouching Course, but in addition to this managed to grab some extra portraits too.

The vintage clothing Anthony was wearing was for the TIMELESS Update and was provided by a great ccompany called Marigold Costumes who provide clothing and props to the TV and Movie Industry and whilst he was there collecting it, also picked up a ‘Grandad Shirt’ and a set of braces.

The set up above was what I was using for the TIMELESS Update and that consisted of …

  • Westcott X-Drop Pro Background Support System

  • Westcott 8’ x 8’ X-Drop Vintage Grey by Glyn Dewis (Material)

  • L60-B 60W Bi Colour LED

  • Westcott Rapid Box Switch 4’ x 3’ Softbox

  • Westcott Silver Reflector

The constant light I am absolutely loving! So much so infact I’ve now added a 2nd light to my kit with a 3rd on the way to give me more options for a new portrait series I’m going to be working on.

The portrait above is one that I took of anthony in-between filming segments for Timeless, and for this the set up was pretty much the same other than one addition.

Here’s what the ‘Out of Camera’ shot looks like when just using the L60-B LED and Softbox coming in from camera right …

At the time of this photo shoot I didn’t have a 2nd L60-B so instead I used the modelling light from my Westcott FJ200 strobe, and this worked a treat when fitted with the included reflector and honeycomb grid.

This was aimed behind Anthony from camera left so that just the soft outer portion of the light brushed past the side of his head.

Aiming the light past Anthony so that only the outer portion of the light hit him, meant the light will be soft unlike the portion of light nearer the centre. Also, doing this meant the softness of the light from the 4’ x 3’ softbox and the FJ200 matched.

A silver reflector was also positioned camera left just out of shot to bounce a bit of light onto Anthony’s shoulder and upper back nearest the camera because without it, there was very little detail.

As for the light you can see coming into the portrait from the top left, this was added very simply in Photoshop using a soft white brush and this I did so that the highlight on the side of Anthony’s head (camera left) made sense … if you know what I mean.

Below is a lighting diagram to give you an idea how the set up looked …

My favourite image from this quick portrait shoot is defintely the one above, but I did also grab this one with a wider field of view and slightly different pose and feel due to the chair having been turned around …

Using the exact same set up I also took a portrait of Ian, but with him standing instead of sitting …

I’m so looking forward to pushing on with a new portrait series using the L60-B LEDs ; there’s lots more to come so I’ll make sure to share what I get up to and grab plenty of Behind the Scenes.

I hope this breakdown is in some way useful and if you have any questions please don’t hesitate to drop them in the comment section and I’ll make sure to reply.

Cheers,
Glyn

• Note
As part of the retouching on these portraits I made use of my Dark & Moody Lightroom / Camera Raw preset at 20% strength, and this you can download for FREE when you subscribe to my twice-monthly newsletter