iPad

Editing my Photographs in Lightroom on my iPad Pro

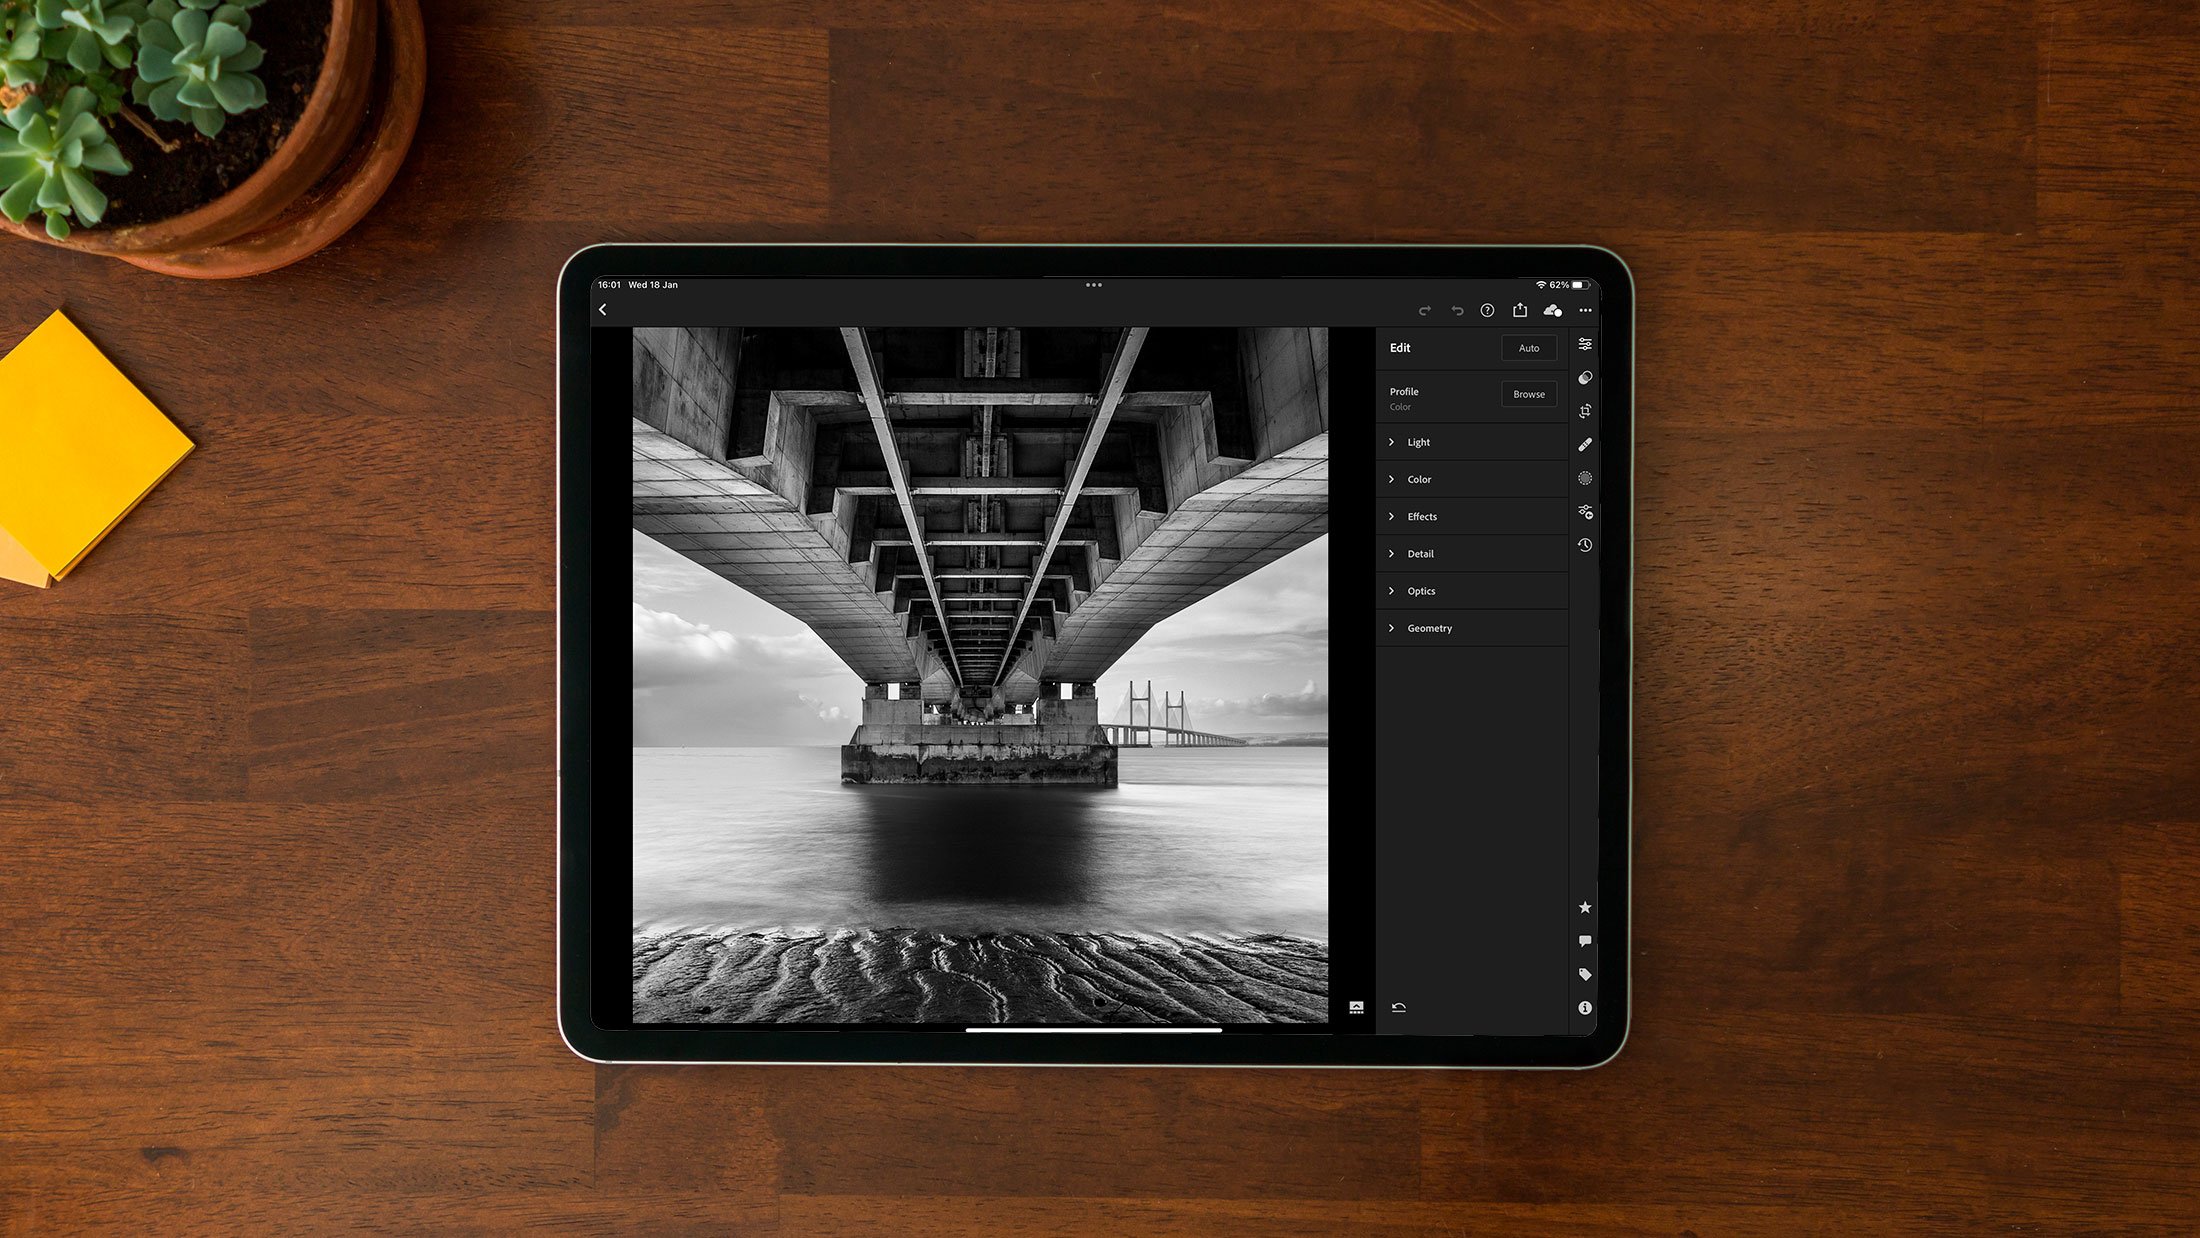
Now that I’ve been able to calibrate the screen on my iPad Pro, I’m really enjoying it when from time to time I retouch some of my pictures on it; reason being that the results on my calibrated iPad Pro are extremely close to how they look on my calibrated BenQ SW 272U Display.

I always struggled taking it seriously before now because it wasn’t calibrated and thought …

What’s the point when I’d then have to go and make corrections
in Lightroom on my desktop afterwards?
— Me (Before)

But now this is definitely not the case …

I actually had the technical folks at Calibrite reach out to me after having seen the iPad Pro calibration video I shared on my YouTube channel, asking if I’d be able to do a 2nd calibration to check whether the one I did was indeed accurate; and it most definitely was …

  • Target Luminance = 100cd/m2

  • Achieved Luminance = 99.355cd/m2

  • Target X = 0.3127

  • Achieved X = 0.313

  • Target Y = 0.3290

  • Achieved Y = 0.331

So yeah … the calibration of the iPad Pro screen worked a treat!

If you didn’t see the video I put together showing how to calibrate the iPad Pro and whaich also makes sense of what all this Luminance, X and Y stuff is all about, here it is …

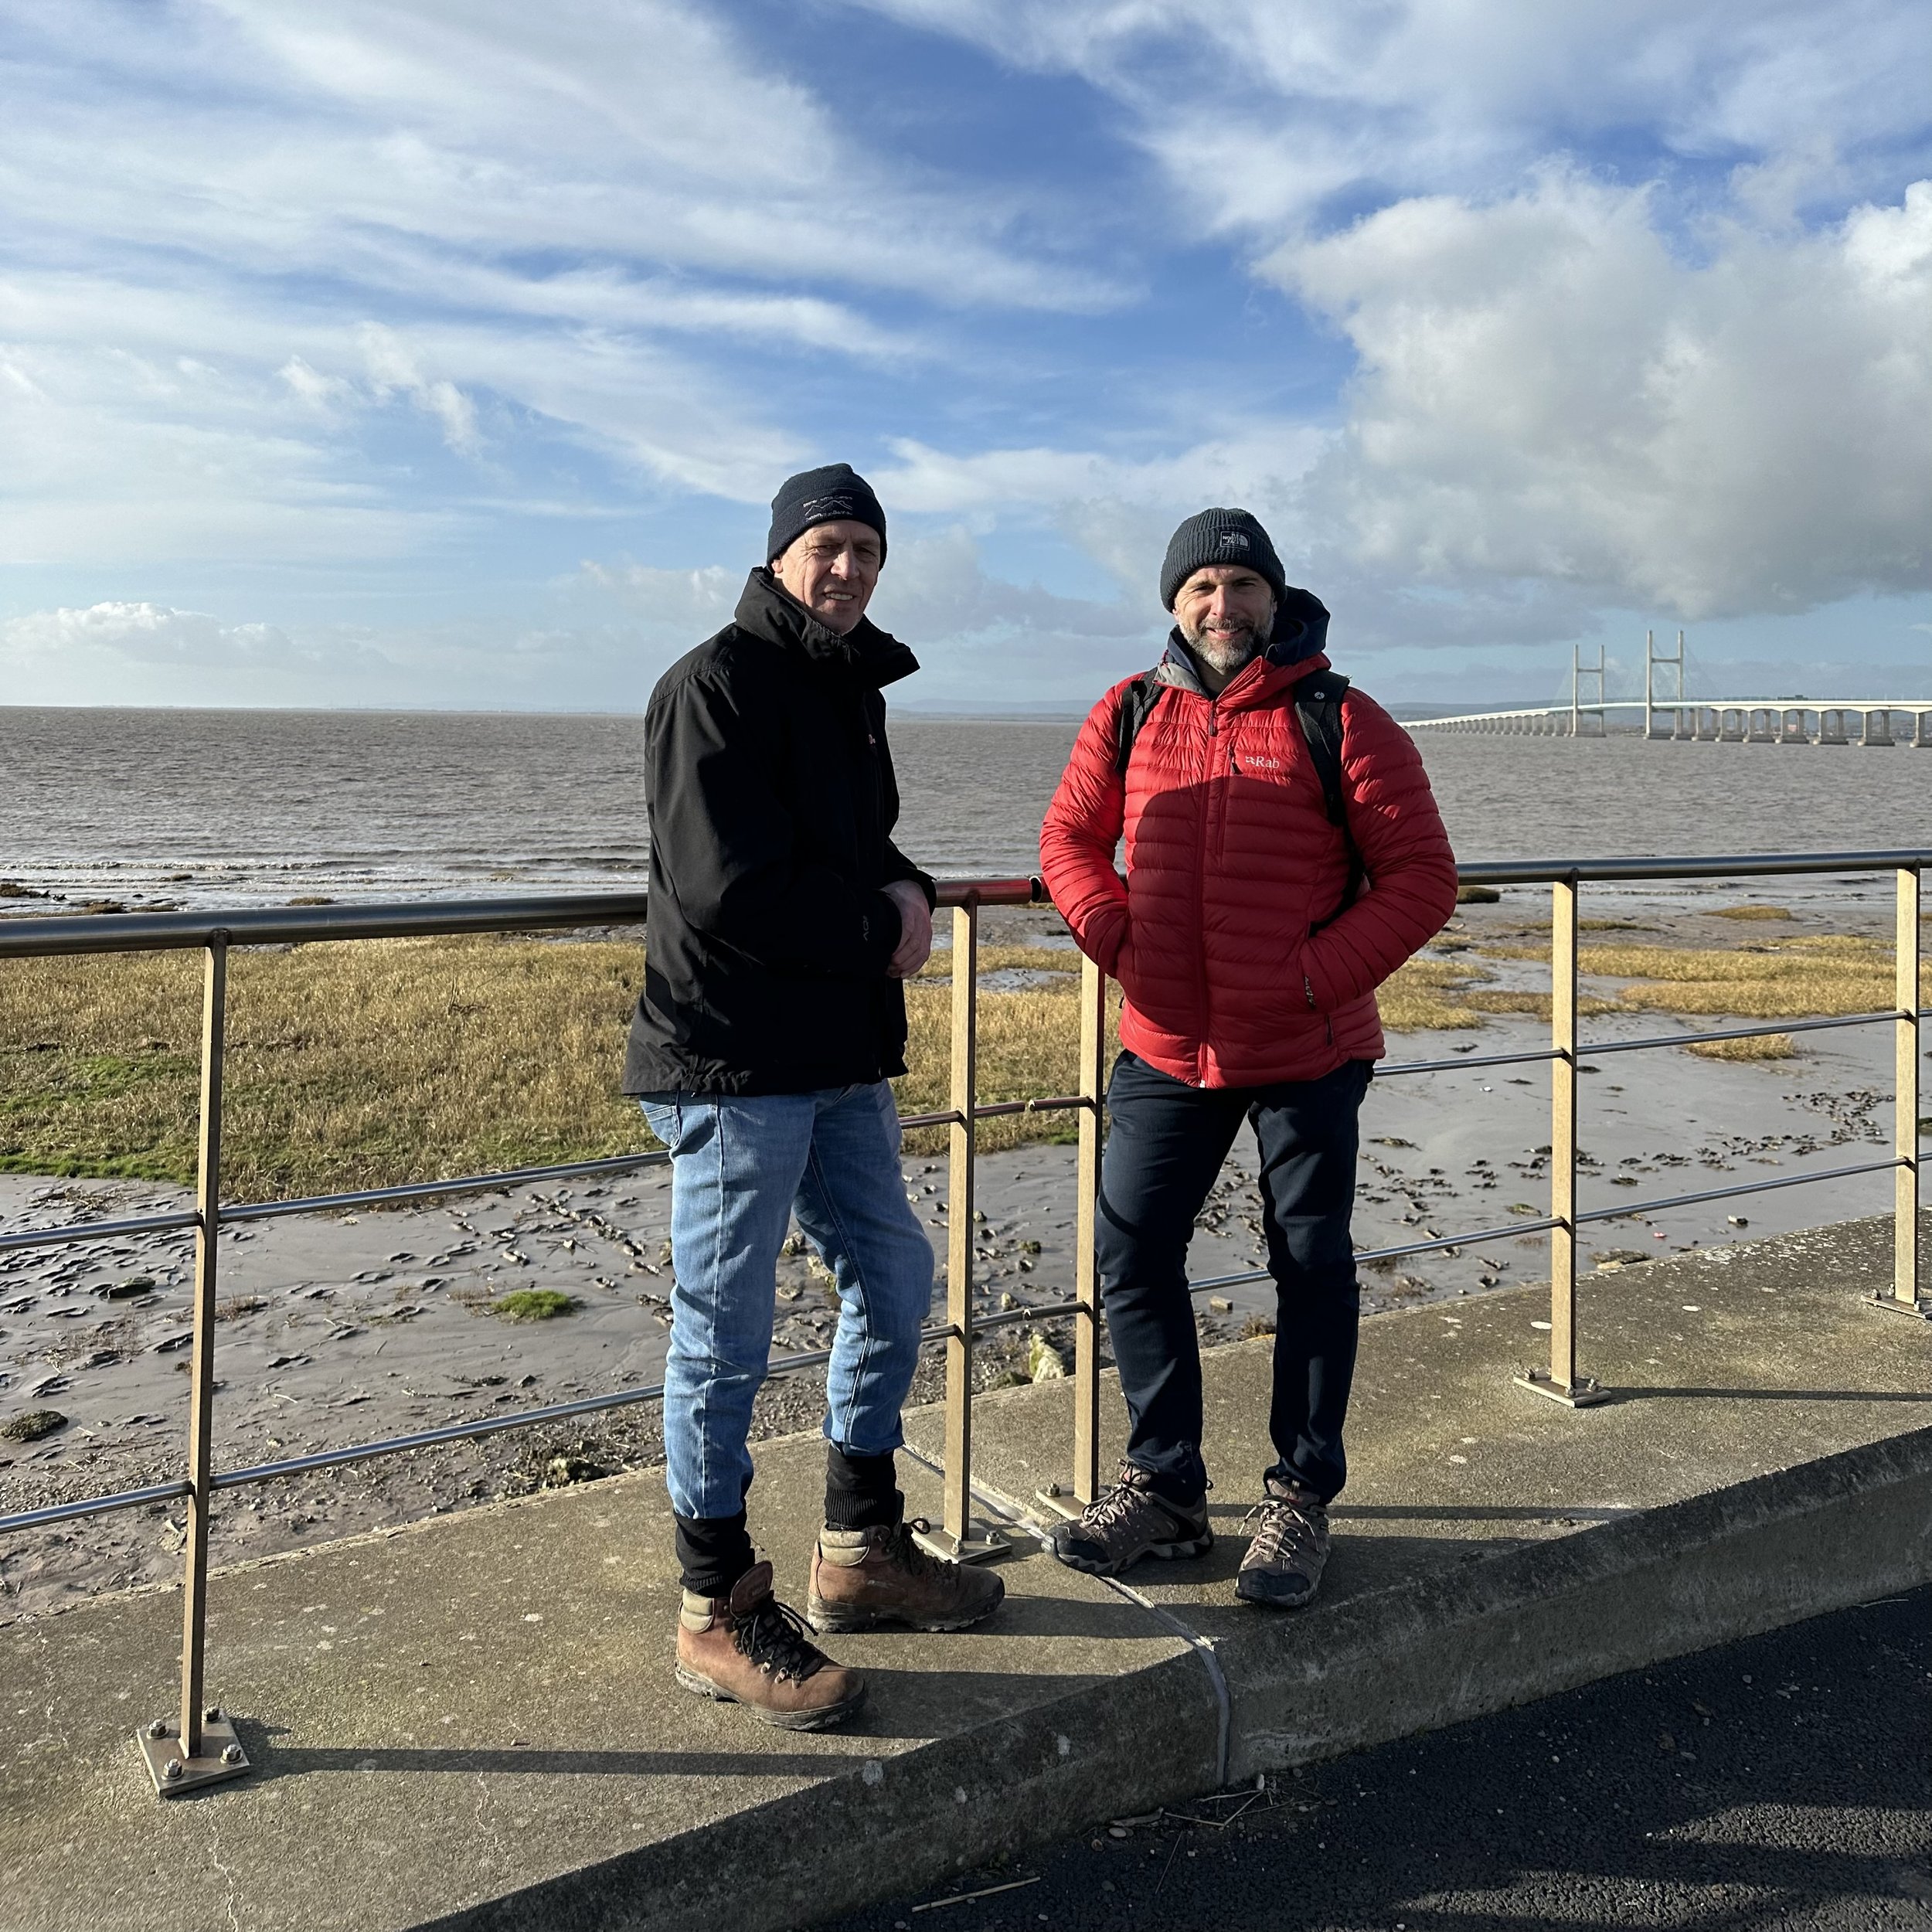
So now, knowing that my iPad Pro screen calibration is good, I’m definitely making more use of it; not for every edit but just for those times when I just fancy sitting with my feet up in front of the TV and tinkering and when out and about on a phot shoot and then grabbing a coffee.

Also on those occasions if I haven’t finished the editing, when I get back home in front of my main computer I can just pick up in Lghtroom on my desktop from where I got to in Lightroom on my iPad Pro; such is the way that Lightroom syncs across all devices.

Clever stuff!

Actually on the subject of getting home and diving back on to my main computer, I’ve some new kit coming that is going to improve my workflow, set up and backing up, so I’ll make sure to share about that here and in a video 👍🏻

Calibrating my iPad Pro for Photography

One thing I always do when taking portraits is shoot tethered and that always used to be with my camera connected to my MacBook Pro or laptop BUT that has now changed to being my iPad because its way more portable and convenient.

I use the CaptureOne app for the tethering which works so incredibly well .. literally just open the app, plug in your camera (you can also use it wirelessly) and you’re up and running. You can even use it to tether to your iPhone … if you have one.

The only problem i find is that the screen on the iPad out of the box is too contrasty … its set up so that it gives the richest colours and the deepest blacks for when using apps, watching movies, playing games, looking at pictures which is great but not ideal for when using it when tethering.

However I have the 6th generation 12.9” iPad Pro running iOS 17.3.1 and this has Reference mode and this we can use to kind of calibrate the screen to something more suitable for photography.

NOTE:
Reference mode is actually available on 12” iPad Pro 5th generation or later and requires iOS 16 or later.

How I PHOTOGRAPH and EDIT an ICONIC LANDSCAPE using my iPhone and iPad (LIGHTROOM MOBILE)

How I PHOTOGRAPH and EDIT an ICONIC LANDSCAPE using my iPhone and iPad (LIGHTROOM MOBILE)

Here's a COMPLETE MOBILE WORKFLOW showing how I photographed and Edited the iconic Prince of Wales Bridge using just my iPhone and my iPad. I am BLOWN AWAY by the qulity of the file produced and the print which could easily be A2!!! Exciting times in Photography!

Photographing the Iconic Prince of Wales Bridge with my iPhone

A few days ago I met up with my great friend Anthony Crothers at a Café in Bristol to spend some quality time together and also to try photographing the Prince of Wales Bridge that spans 3.2 miles from the South West of England, across the River Severn, to the South East of Wales …

Having seen some photographs of it in a photography book I own, I thought it would be both interesting and a challenge to see what I could capture using just my iPhone 14 Pro Max.

Conditions following a recent storm were perfect with great light and a sky full of clouds, although it was a little on the chilly side and once under the bridge, the wind blowing around caused some initial challenges keeping the phone perfectly still on the tripod.

I’d taken along my new Joby MagSafe Phone Holder which is so incredibly well made, however ended up not being suitable because of the wind causing a little bit of movement …

Instead I resorted to my trusty SmallRig Mobile Phone Cage that locked everything down and held it rock steady …

Lately I’ve been using the Lightroom Mobile App for creating Long Exposures, however that is restricted to a maximum of 5 second long exposures, so instead opted for another App I have on my phone called Even Longer.

This is an incredibly easy app to use with a clean interface and a menu system that is simple and very intuitive.

The set up couldn’t have been easier: dial in the exposure I wanted, choose the length of the long exposure and press the shutter button which then kicked into action after a 3 second delay to ensure no movement.

There’s so many composition opportunities at this location, but my favourite was when I was directly under the bridge to capture all the structure underneath and then the view as the bridge disappears across the River Severn …

To edit the image I intentionally limited myself to using my iPad and the Lightroom Mobile and Photoshop Apps which worked an absolute treat. In fact they made the editing process a joy!

I’m loving the mobile workflow where I can take photographs with my mobile phone and without having to involve memory cards, the images I take are automatically synced to my iPad so that in the comfort of the nearby café I can look through and start editing.

Final Image edited in Lightroom Mobile on my iPad

Once back home, the photographs I’ve taken, along with any images I’ve started editing (and all of the edits) automatically appear on my desktop computer so that I can then check them over on a Colour Calibrated Screen, and then confidently print them out knowing that what I see, is what I get. Such an incredibly portable and convenient workflow … that also gives peace of mind knowing that photographs you take are instantly backed up.

My video this week on my YouTube Channel, will be going Behind the Scenes from this photo shoot, as I show all of the steps involved from taking the photographs, editing in Lightroom Mobile on my iPad, and the final print …